Sewing Cloth Wipes Without a Serger
Sewing Cloth Wipes for Babies
When I was pregnant a good friend made me an amazing big pile of handmade, sewing cloth wipes for babies that we still use now, ten years later, and not because we’re still in diapers, but because they make great little hankies or cleanup cloths for around the house. She had serged the edges around each little square.
But when I wanted to make a set to give a friend, I wasn’t sure how I would pull it off without a serger and without significant rage. Obviously, you can use a zigzag stitch, but getting it so near the edge, and around so many corners? So I came up with this method that I think is worth sharing, or at least remembering myself.
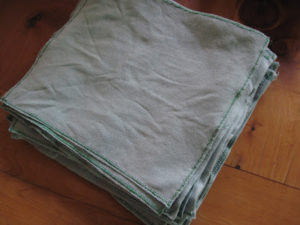
First you have to gather the needed materials. Flannel is a great go-to for wipes, but I also like jersey. It’s soft, doesn’t fray, and it’s easy to find a big jersey sheets at the thrift store because of the t-shirt sheet phenomena. Bonus if you can find a sheet that is poo-colored!
So if it doesn’t fray, why sew around the edges at all? Because we want them to be double thick, and also the cuteness factor.
Begin by folding the whole thing in half and cutting out the elastic if it’s fitted and noting any holes or stains that you need to avoid. Pictured here was a jersey pillowcase, which worked extra well because it was already double thick and well-proportioned to make exactly 18 wipes.
I used my yardstick which was broken in the tragic collapse of a couch fort to pencil out the lines to make roughly 7″ squares, or whatever size you’re looking for. I’m thinking of making a paper towel size set for around the house. If you’re crunchy enough, make a stack for your own toilet paper- why are babies the only ones who deserve washable fabric on their buns?
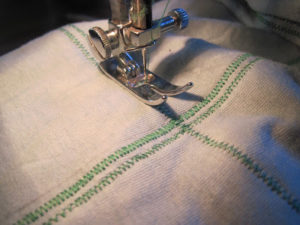
Without cutting anything, sew (through both layers) a tight, medium-sized zigzag along the first pencil line. I set my length (how close the zigzags are to one another) pretty tight but far enough apart to see see the definition of each zig and zag, and the width is set in about the middle, or a bit wider.
(This is the point at which I mess up the first seam by not testing my stitching on a scrap first and it doesn’t turn out right. Then I wrestle with my machine for many minutes, cursing and adjusting the tension and changing the needle and looking up things in the manual and seeing what YouTube says about my problem. What I have learned is that my problems, no matter how much it seems to be the fault of my machine, it’s always user error. Every time. Rethread, use a new needle, clean out the fuzz, make sure your top and bottom thread are the same exact thread… these are a few of my troubleshooting go-tos.)
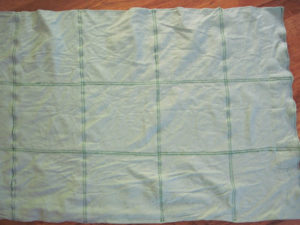
When you get to the end of the pencil line, turn the fabric around and come back with a parallel seam, leaving a 1/4″ gap between the two parallel lines. Sew these two parallel lines of zigzags along all pencil lines. To be extra sure you won’t fray you can backstitch the spots where the lines criss-cross one another, which will become the corners of the wipes, but it works without.
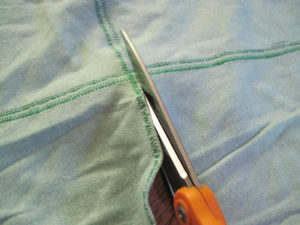
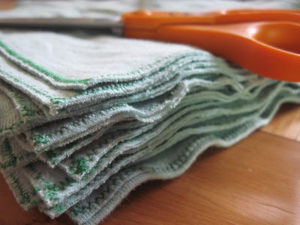
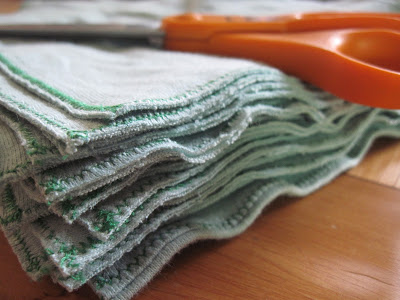
Then cut along the gutters between the parallel lines of zigzags, and you have a neat pile of cute wipes.
There are lots of wipe solution recipes online, find one you like with essential oils and aloe vera gel. You can douse them in solution and fold them kleenex-style into a reusable wipes box or use a spray bottle of solution to wet the wipes as needed. Wash however you like and dry them in the sun for an extra disinfectant!
